Makey-makey et scratch : premier essais
De Wikidebrouillard.
| Ligne 19 : | Ligne 19 : | ||
* jouer le son "miaou" | * jouer le son "miaou" | ||
| - | [[Fichier:Prog1-scratch-makey.jpg| | + | [[Fichier:Prog1-scratch-makey.jpg|300px]] [[Image:Espacemiaou-scratch-makey.jpg|300px]] |
===Enregistrez un son pour vous amuser=== | ===Enregistrez un son pour vous amuser=== | ||
| Ligne 39 : | Ligne 39 : | ||
[[Image:Lalala-scratch-makey.jpg|400px]] | [[Image:Lalala-scratch-makey.jpg|400px]] | ||
| - | Ensuite vous agrandissez le programme : | + | Ensuite vous agrandissez le programme avec d'autres touches et d'autres sons : |
| - | [[Fichier:Prog2-scratch-makey.jpg| | + | [[Fichier:Prog2-scratch-makey.jpg|300px]] |
| - | [[Image:Prog-scratch-makey.jpg| | + | [[Image:Prog-scratch-makey.jpg|300px]] |
===Brancher le Makey-makey à l'ordinateur== | ===Brancher le Makey-makey à l'ordinateur== | ||
Version du 18 novembre 2015 à 16:31
Voici une initiation pour utiliser Makey-Makey avec Scratch.
Sommaire |
Matériel
-
 Un ordinateur
-
 Avec le logiciel Scratch ou un acces à internet vers le site Scratch
-
 Un Makey-makey et ses cables
montage
Pour faire un programme Scratch et arduino, nous allons utiliser les touches principales du MAkey-makey :
- flèche haut
- flèche bas
- Flèche gauche
- flèche droite
- Touche espace
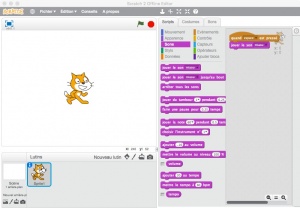
Faite un premier programme
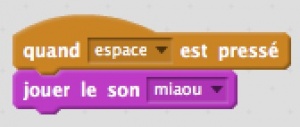
Le but du programme :
- quand on appuie sur la touche "espace"
- jouer le son "miaou"
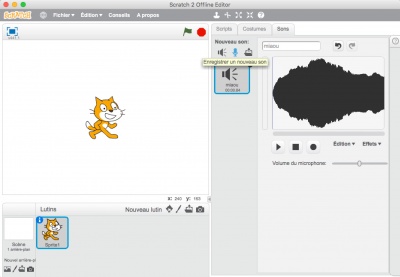
Enregistrez un son pour vous amuser
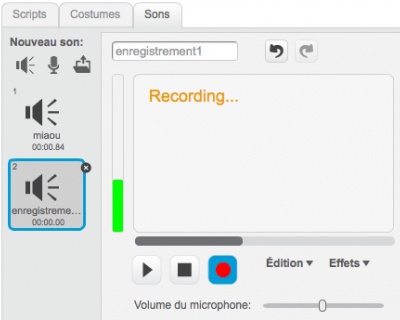
C'est dans l'onglet "Sons", au bouton "enregistrer un nouveau sons"
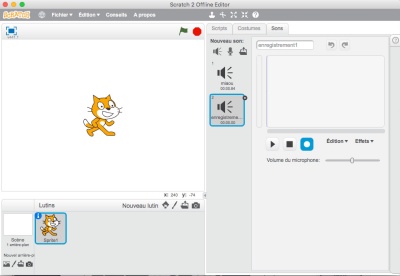
Vous cliquez sur le bouton enregistrement :
ça enregistre
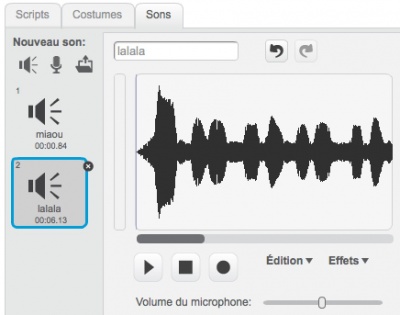
Vous lui donnez un nom qui a du sens : lalala (par exemple)
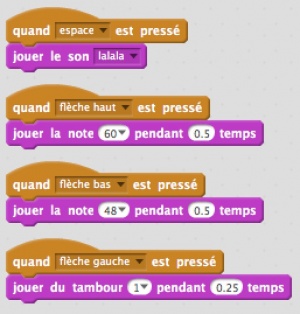
Ensuite vous agrandissez le programme avec d'autres touches et d'autres sons :
=Brancher le Makey-makey à l'ordinateur
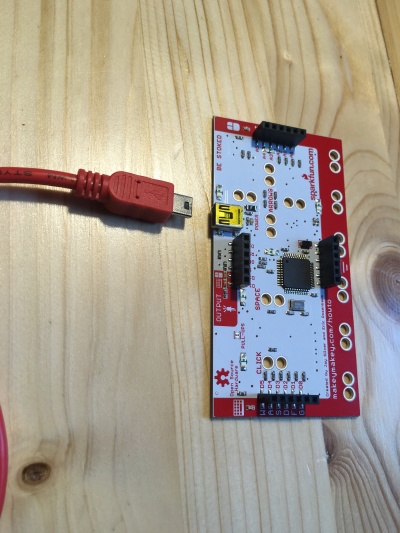
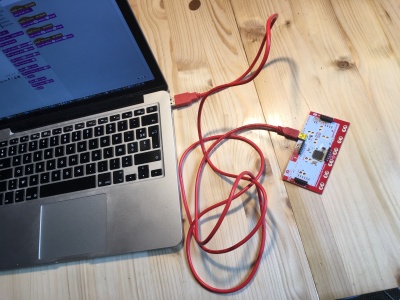
Branchez le cable USB au Makey-makey par la prise mini-usb.
Branchez le cable USB à l'ordinateur (Si des fenêtres s'ouvrent, fermez-les).
Jouez !
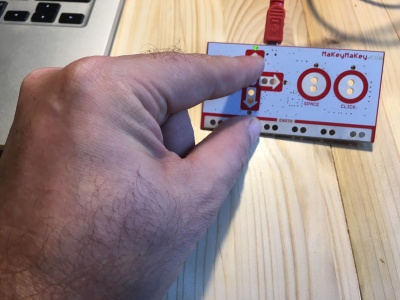
Sois vous touchez avec doigt la terre (barre conductive en bas du makey-makey marquée "Ground" :
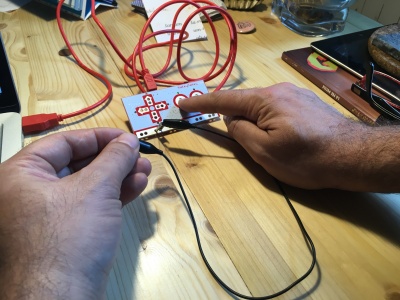
Sois vous vous connectez à cette terre avec un cable et vous appuyez
Exemples de Programmes scratch à utiliser avec Makey-Makey
